
I’ve been playing Fantasy games! With my beastmen! Which means I’ve had frantic hobby days trying to get things up and running!
In the past week, I’ve played two games (1500 and 2k, respectively) with the son/father dangerous duo of Kyle the Burning-Eyed and Danny (Danny’s gotten a fair amount of mention, but his nickname’s…Danny). First game was against High Elves, the third time I’ve gone up against that particular army–second with my beastmen. We both had fresh End Times books to employ, but on his end no Dark or Wood models to add in. Khaine had just dropped so we learned at the game’s outset about the massive boost to wizard efficacy that comes out of it.
Neither of us ever took a shot at casting any of the new End Times spells, though; we had pretty hotly-contested magic phases as it was and a lot of spells never got off. I was, theoretically, using the Lore of Undeath from End Times: Nagash. I say theoretically because between both games I’ve played I’ve managed a single successful summons. I had similar problems at the beginning of 7th in 40k, though I eventually got better at striking the balance of dice to throw at the spells and additional threats to bait with. In Fantasy, the combination of low overall totals on my dice and high-level dispelling talent meant that every one of my summons faced a heavy opposition, and they only had a chance to pop off once I’d whittled the enemy casting force down.

The last time I played Kyle’s elves, I was roundly trounced in large part because I forgot to bring a battle standard-bearer. Luckily, this time I…did the exact same thing. Realized it as I was setting up, which you may recognize as too late to do anything! My list was, in general:
- Great Bray Shaman, General, Lv 4, Lore of Beasts.
- 2x Bray Shamans, Lv 2 and Lv 1, one with a Shard of the Herdstone and the other with a Dispel Scroll. One rolled on Shadow and the other Undeath.
- ~24 Gors, full command, extra hand weapons, Mark of Khorne.
- Conventional wisdom eschews pumping too many points into Gors, so paying fully 10 points for each model is probably risky. However, for that I am getting Immune to Psychology and a punishing 3 attacks from each front-rank model. I’ve been very happy with the results so far, especially backed with a Wildform to boost survivability, and facing off against enemies who’ve eaten a Miasma to reduce their efficacy.
- ~14 Bestigors, full command, Mark of Nurgle.
- I never have room, pointswise, to do a truly huge block of Besties. I’ll probably experiment with one soon, which likely requires downplaying the magic end a bit but also requires me to drop some of the other Special choices I spend on. Special is the jam for beastmen.
- 2xRazorgors.
- 6xMinotaurs, Standard, Great Weapons, Mark of Nurgle.
- In the event that they ever normalize command costs for minos I’ll start taking a musician, but I’m already paying for two command models when I buy the standard.
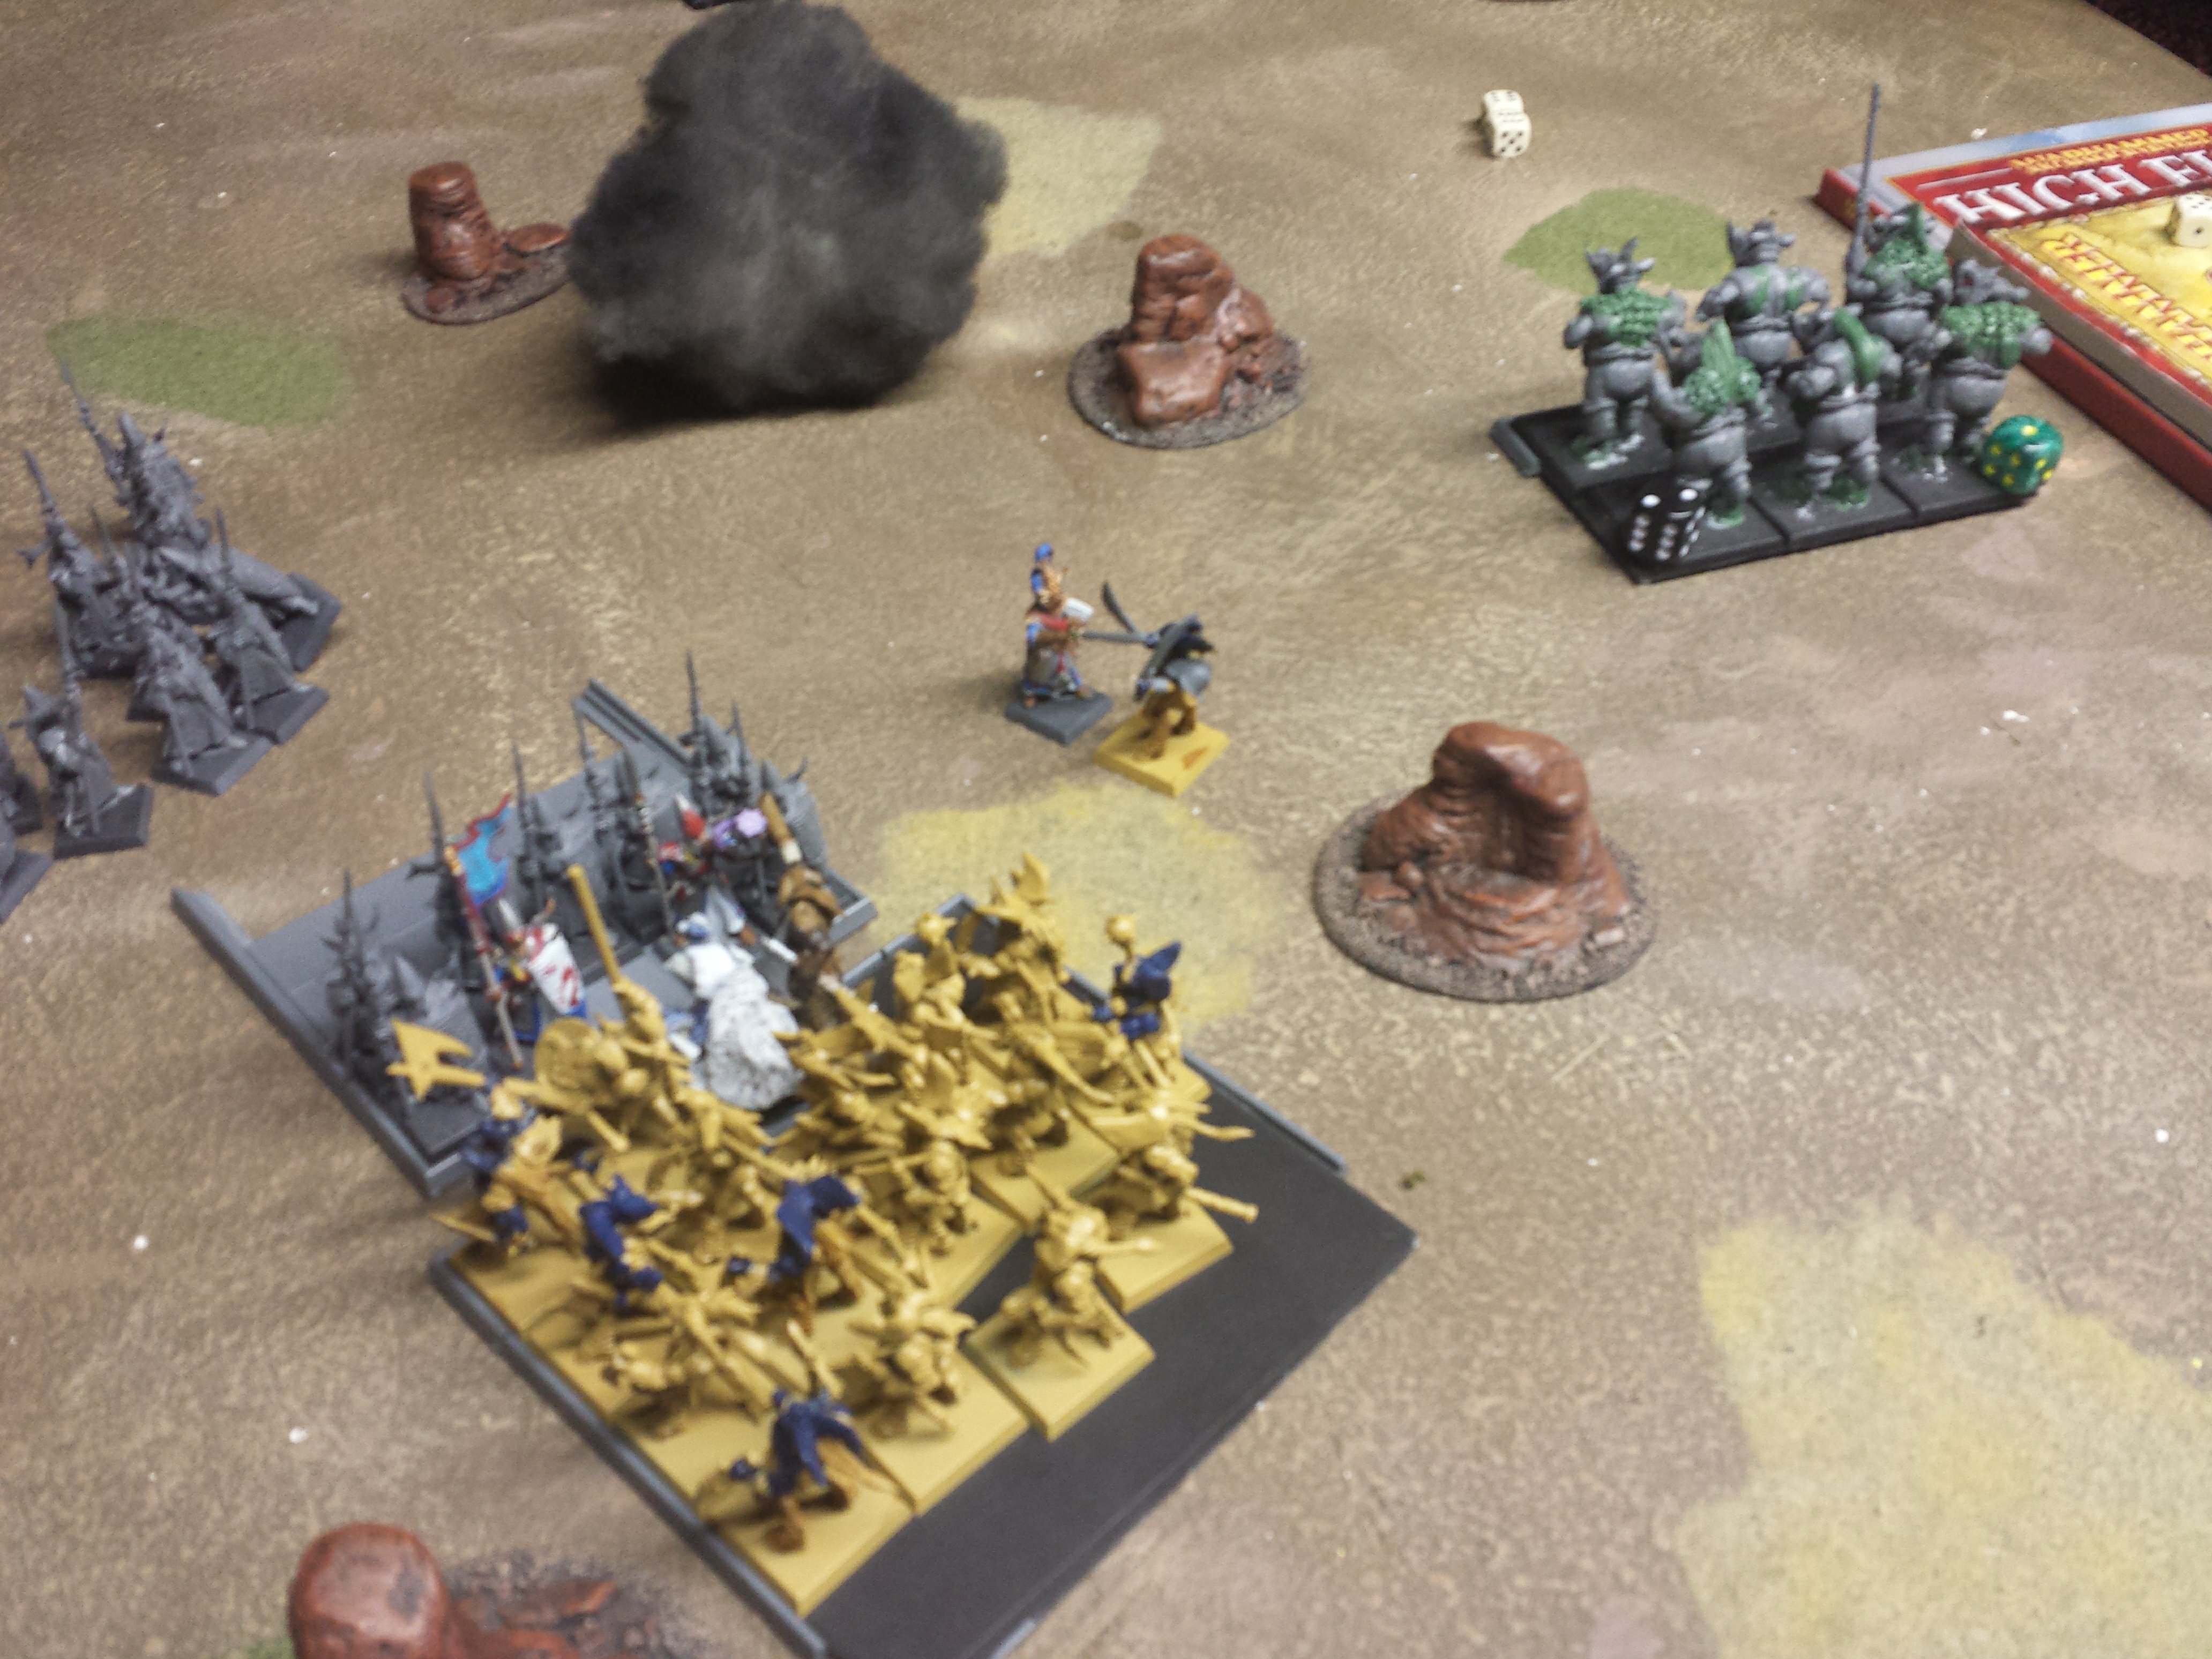
I lost the rolloff and the elves advanced, throwing down Throne of Vines. Kyle played his list pretty conservatively, and while I worried I’d get picked apart by bows and magic before I made it across the board. Kyle’s list was, again broadly:
- Archmage, Lvl 4, rolling on Life.
- Loremaster with a book that let him reroll a die on casts.
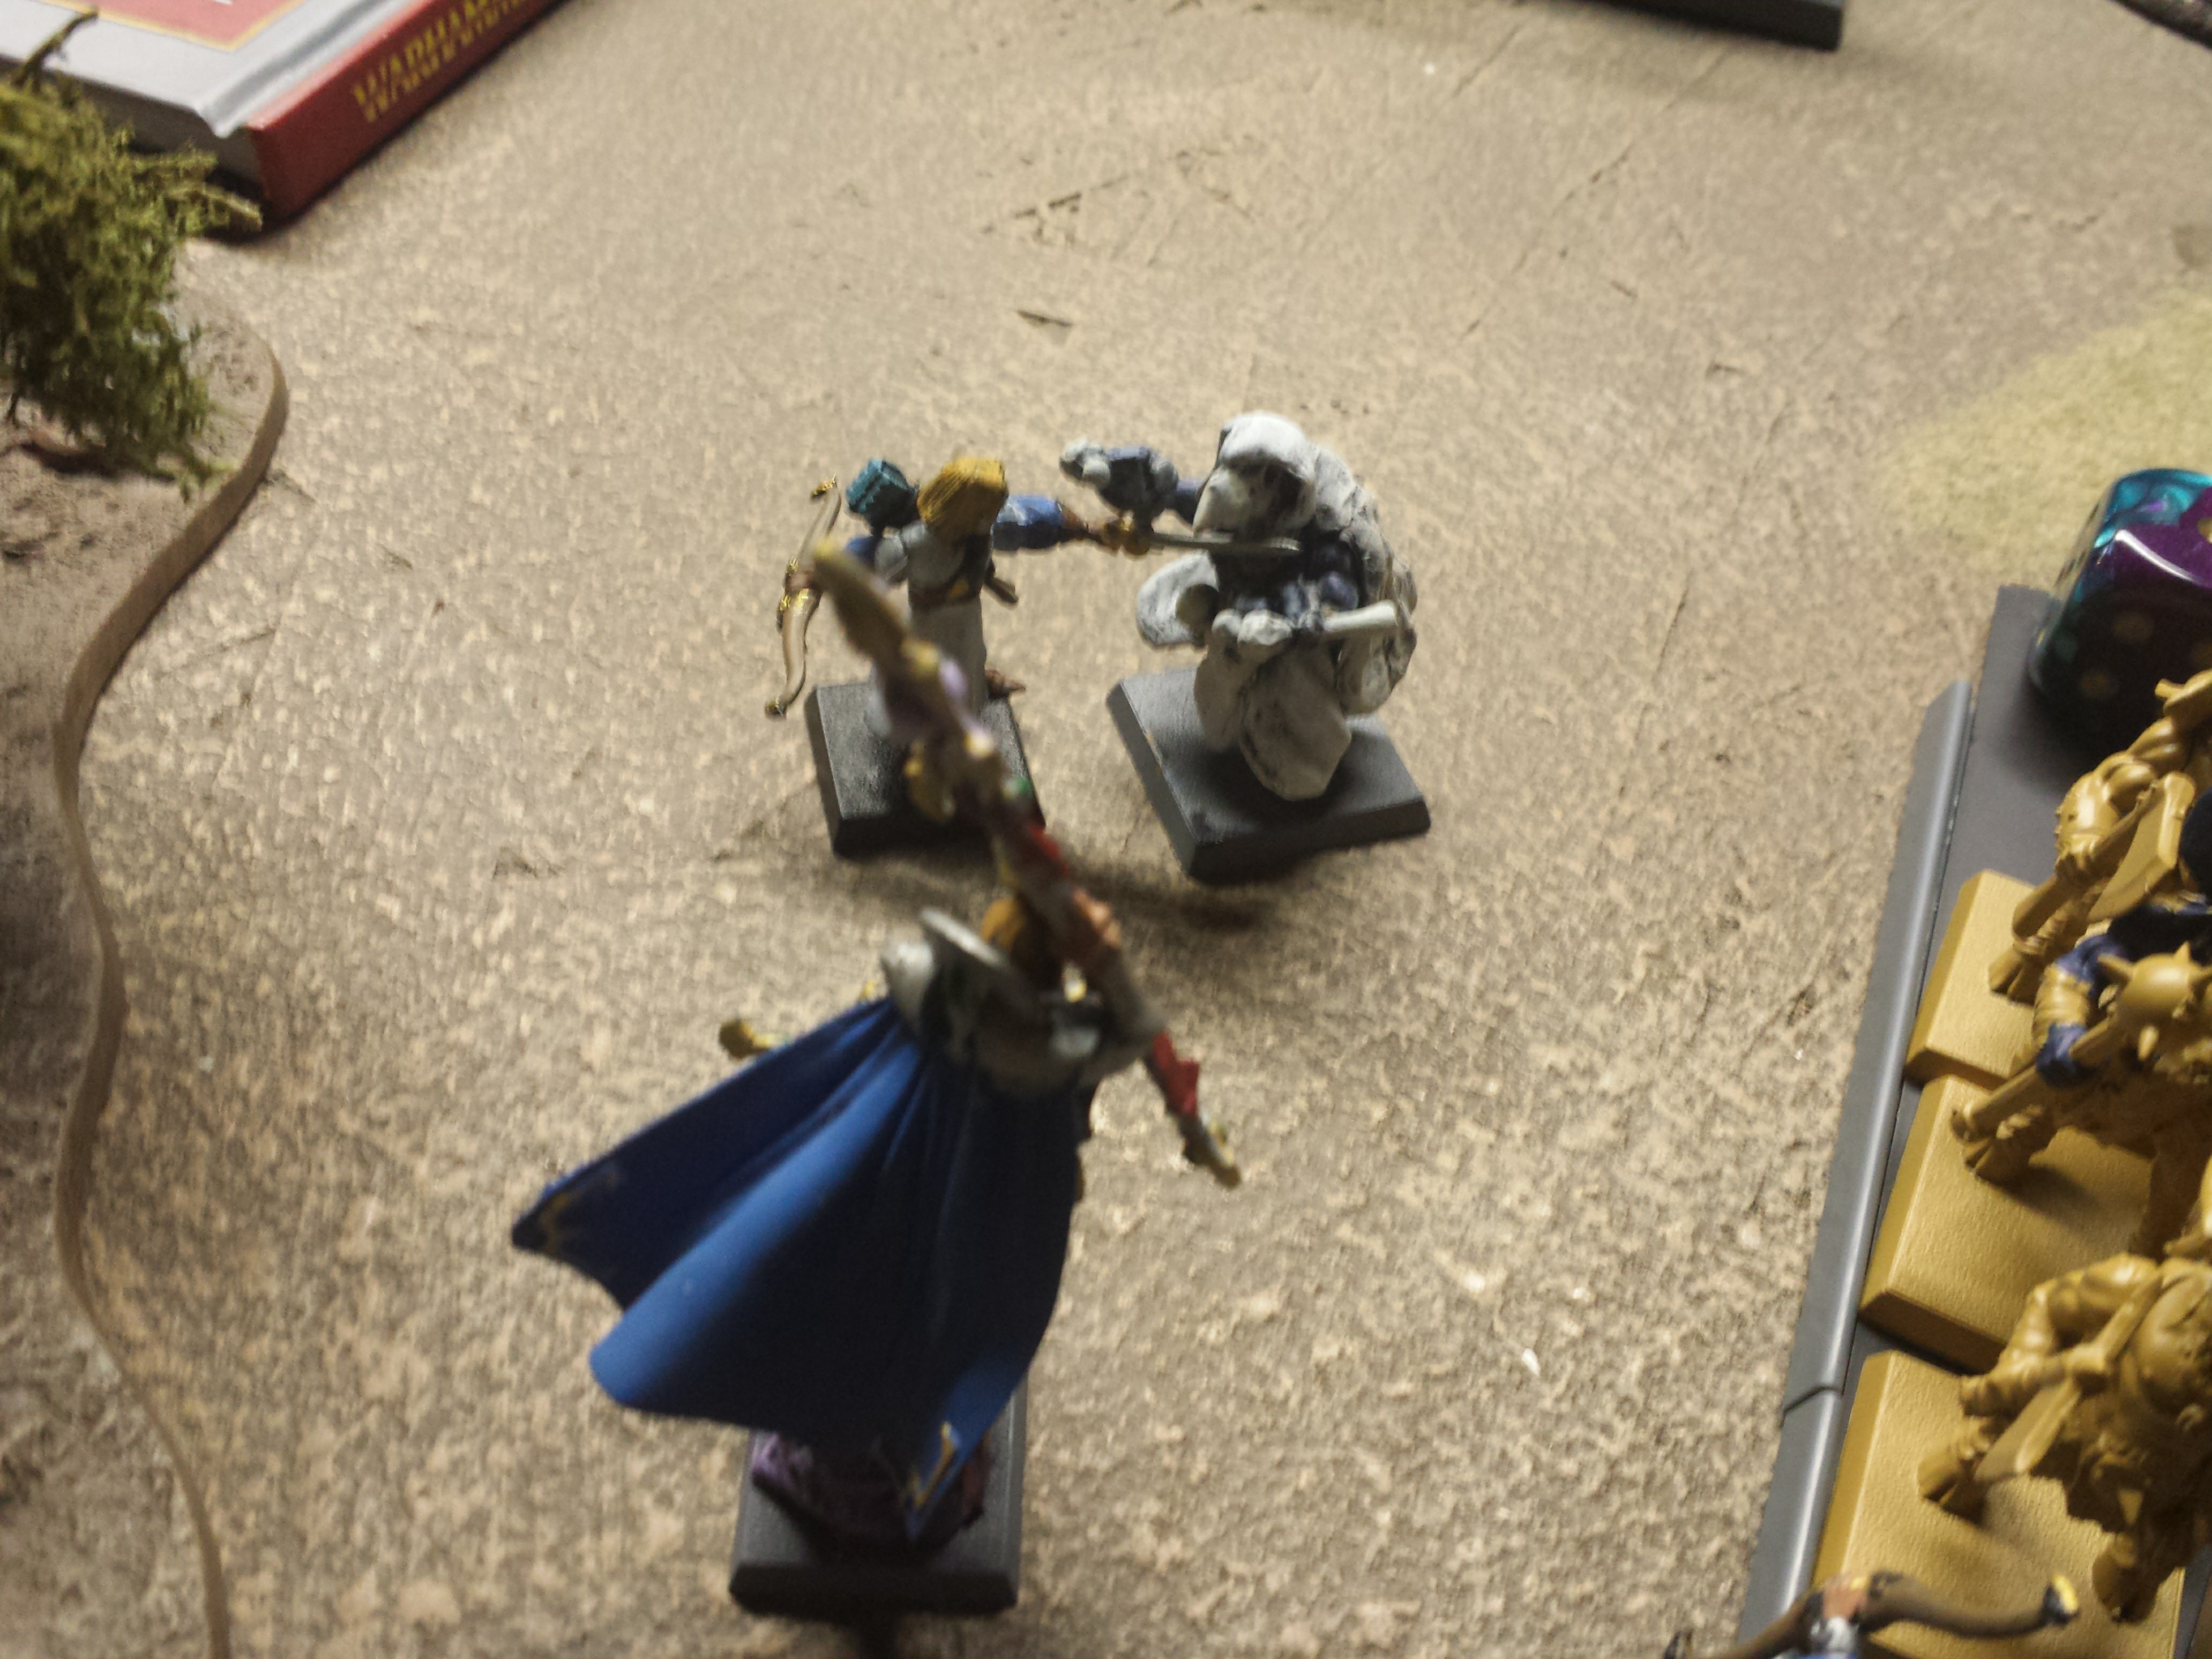
- A hero-level fighty elf on a brilliantly painted gryphon.
- A block of Swordmasters.
- A block of Seaguard.
- A block of Archer-types.
- A block of cavalry.
- A rank of whatever guys elves have who infiltrate/scout. Shadow…duders?
My first turn I advanced, pivoting one Razorgor around to deal with the infiltrators. We’d done that dance in our previous game and while my boar ultimately lost, it tied them up for just about the entire game and I figured that was a fair exchange to avoid back charges. I was apprehensive about pitting my Bestigors against his Swords, but hoped I’d have enough magical support and summoned skeletal archers to weather them. Unfortunately, my summon didn’t go off, but I did manage a brutal Amber Spear that killed the gryphon’s rider (but unfortunately not the gryphon).
In the midgame, my Minotaurs cleared through his cavalry while my arrow-stippled Bestigors cut into the Swordmasters. I threw a fistful of buffs/debuffs into that fight and was surprisingly long-lived; my Razorgor also came in to contribute.

I was worried that having to give challenges would hurt me, but overall it went pretty well. Mark of Nurgle helped keep my Bestigors alive, though Always Strikes First initiative shenanigans meant I still took a lot of hits. Elves tended to refuse to flee, too, even when I took wins. The Gryphon flew into my Gors, killed a few and bought a couple rounds for the Seaguard to lock up with them. That fight was a bit more one-sided, owing to Wildform on my boys making them markedly difficult to wound. We tended to battle around Kyle getting off the Regrowth spell, which I worked very hard to prevent at every juncture.
My Minotaurs gave up surprisingly few wounds as they bore down on the archers, while my Gors turned to move in the same direction. Killing the Gryphon was good for a couple Eye rolls as well, so everyone had at least one buff by the time the final battle was joined. That last conflict involved me rolling a fistful of magic dice and trying to power through a series of character buffs, only to have most of them slapped down. My unit champ had finally died, but my Great Bray hopped into things with his Wildformed statline. Once the archers were cleared the game was called, with my second-to-last turn finally putting a unit of skeletons on the board. Out of range to do anything, but still.
—
My major takeaways from the first game were that I needed to work harder to keep my Shadow Bray Shaman in range of debuff targets, and thus should move my herdstone up more. There’s always a temptation to backrank it but more and more I’m seeing that that not only doesn’t help, it actively increases the value of opposing Scout units. I’ve seen lots of different Herdstone shards, many of which are just abusive; mine’s a converted monkey statue that isn’t crazy huge but does provide some LoS-blocking value, so I can be a little bolder with my wizards. Plus, against most armies that have significant ranged presence, having an entire unit firing at one model usually works out in my ultimate favor.
My minotaurs continued to be valuable fire magnets who didn’t get a ton of opportunity to come to grips with anyone. My Razorgors were awesome until they started taking hits, which is usually the case. My Gor block did what you want a Gor block to do and cut its way through anything it came to grips with, losing bodies in the process.
—
Game 2 was against Danny and his dwarves. I’ve gone up against them before, but only with my lizardmen; I got into playing right when the new dwarf book came out and lost a lot of models between Danny and the dude what runs the store–also a Kyle! I was very apprehensive about facing them again, because dwarves have excellent armor, high toughness, and great guns. With my base troops having no armor, a S of 3 (meaning they wound on 5s), and no guns to speak of, I knew it’d be brutal trying to win the fight.
I probably underestimated just how brutal. The first couple of turns had me almost catatonic, as brutal cannon and organ gun fire stripped away my highest-value models while my own dice gave me nothing. I’m talking 2 magic dice on the critical first turn nothing.
My list for this game, at 2,000:
- Great Bray Shaman, General, Lv 4, Lore of Beasts. I also tried out the Jagged Dagger on the Bray, which gives me magic dice for models he kills in close combat, and a beastman mutation that gives the bearer and his unit Stubborn. At 75 points it’s very costly, but I figured I’d benefit from avoiding running and losing all my models after a rough round of combat.
- 2x Bray Shamans, both Lv1, one with a Shard of the Herdstone.
- Wargor, BSB, Glittering Scales, 5+ Scaly Skin, Enchanted Shield.
- I wasn’t going to forget a BSB this game! I did manage to forget to have him anywhere useful for most of it, but once he came to grips he killed enough troops to make up for things.
- 27 Gors, full command, extra hand weapons, Mark of Khorne.
- 2×5 Ungor Skirmishers.
- I wanted some units who could put down siege crews, and the new Beastman Ambush is much safer to use. Based on how these guys played out, though, I think I’m better off finding the points for Harpies.
- 2xTuskgor Chariots, Mark of Khorne.
- These models are coming along nicely, and are exceedingly unsettling on the table thanks to their human-faced boars. I’m bashing together the riders right now and they’ve got some great dynamism to them.
- I checked the Glotkin mark rules, Warriors of Chaos mark rules, and rules for Frenzy, Extra Attack, and Charots/Cavalry when putting the mark on the chariots. It’s only when writing this up now, though, that it occurred to me to check old errata; I figured when new Glotkin errata hit I’d hear about it. Ultimately some of the success I had with these chariots comes from misplaying them and getting 4 attacks out of my Tuskgors instead of 2, but most of their explosive results came from their impact hits never taking any strikes back. Still not sure what the “rider” on a chariot counts as–I’m assuming anything that isn’t a beast or monstrous beast, but I would love a clearer ruling.
- 18 Bestigors, full command, Mark of Nurgle.
- 18 is certainly better, since it gives me three ranks six wide. I like to get at least the one extra body in my ranks, though I’ve never really bothered with hordes in my beastmen.
- 2xRazorgors.
- 6xMinotaurs, Standard, Great Weapons, Mark of Nurgle.
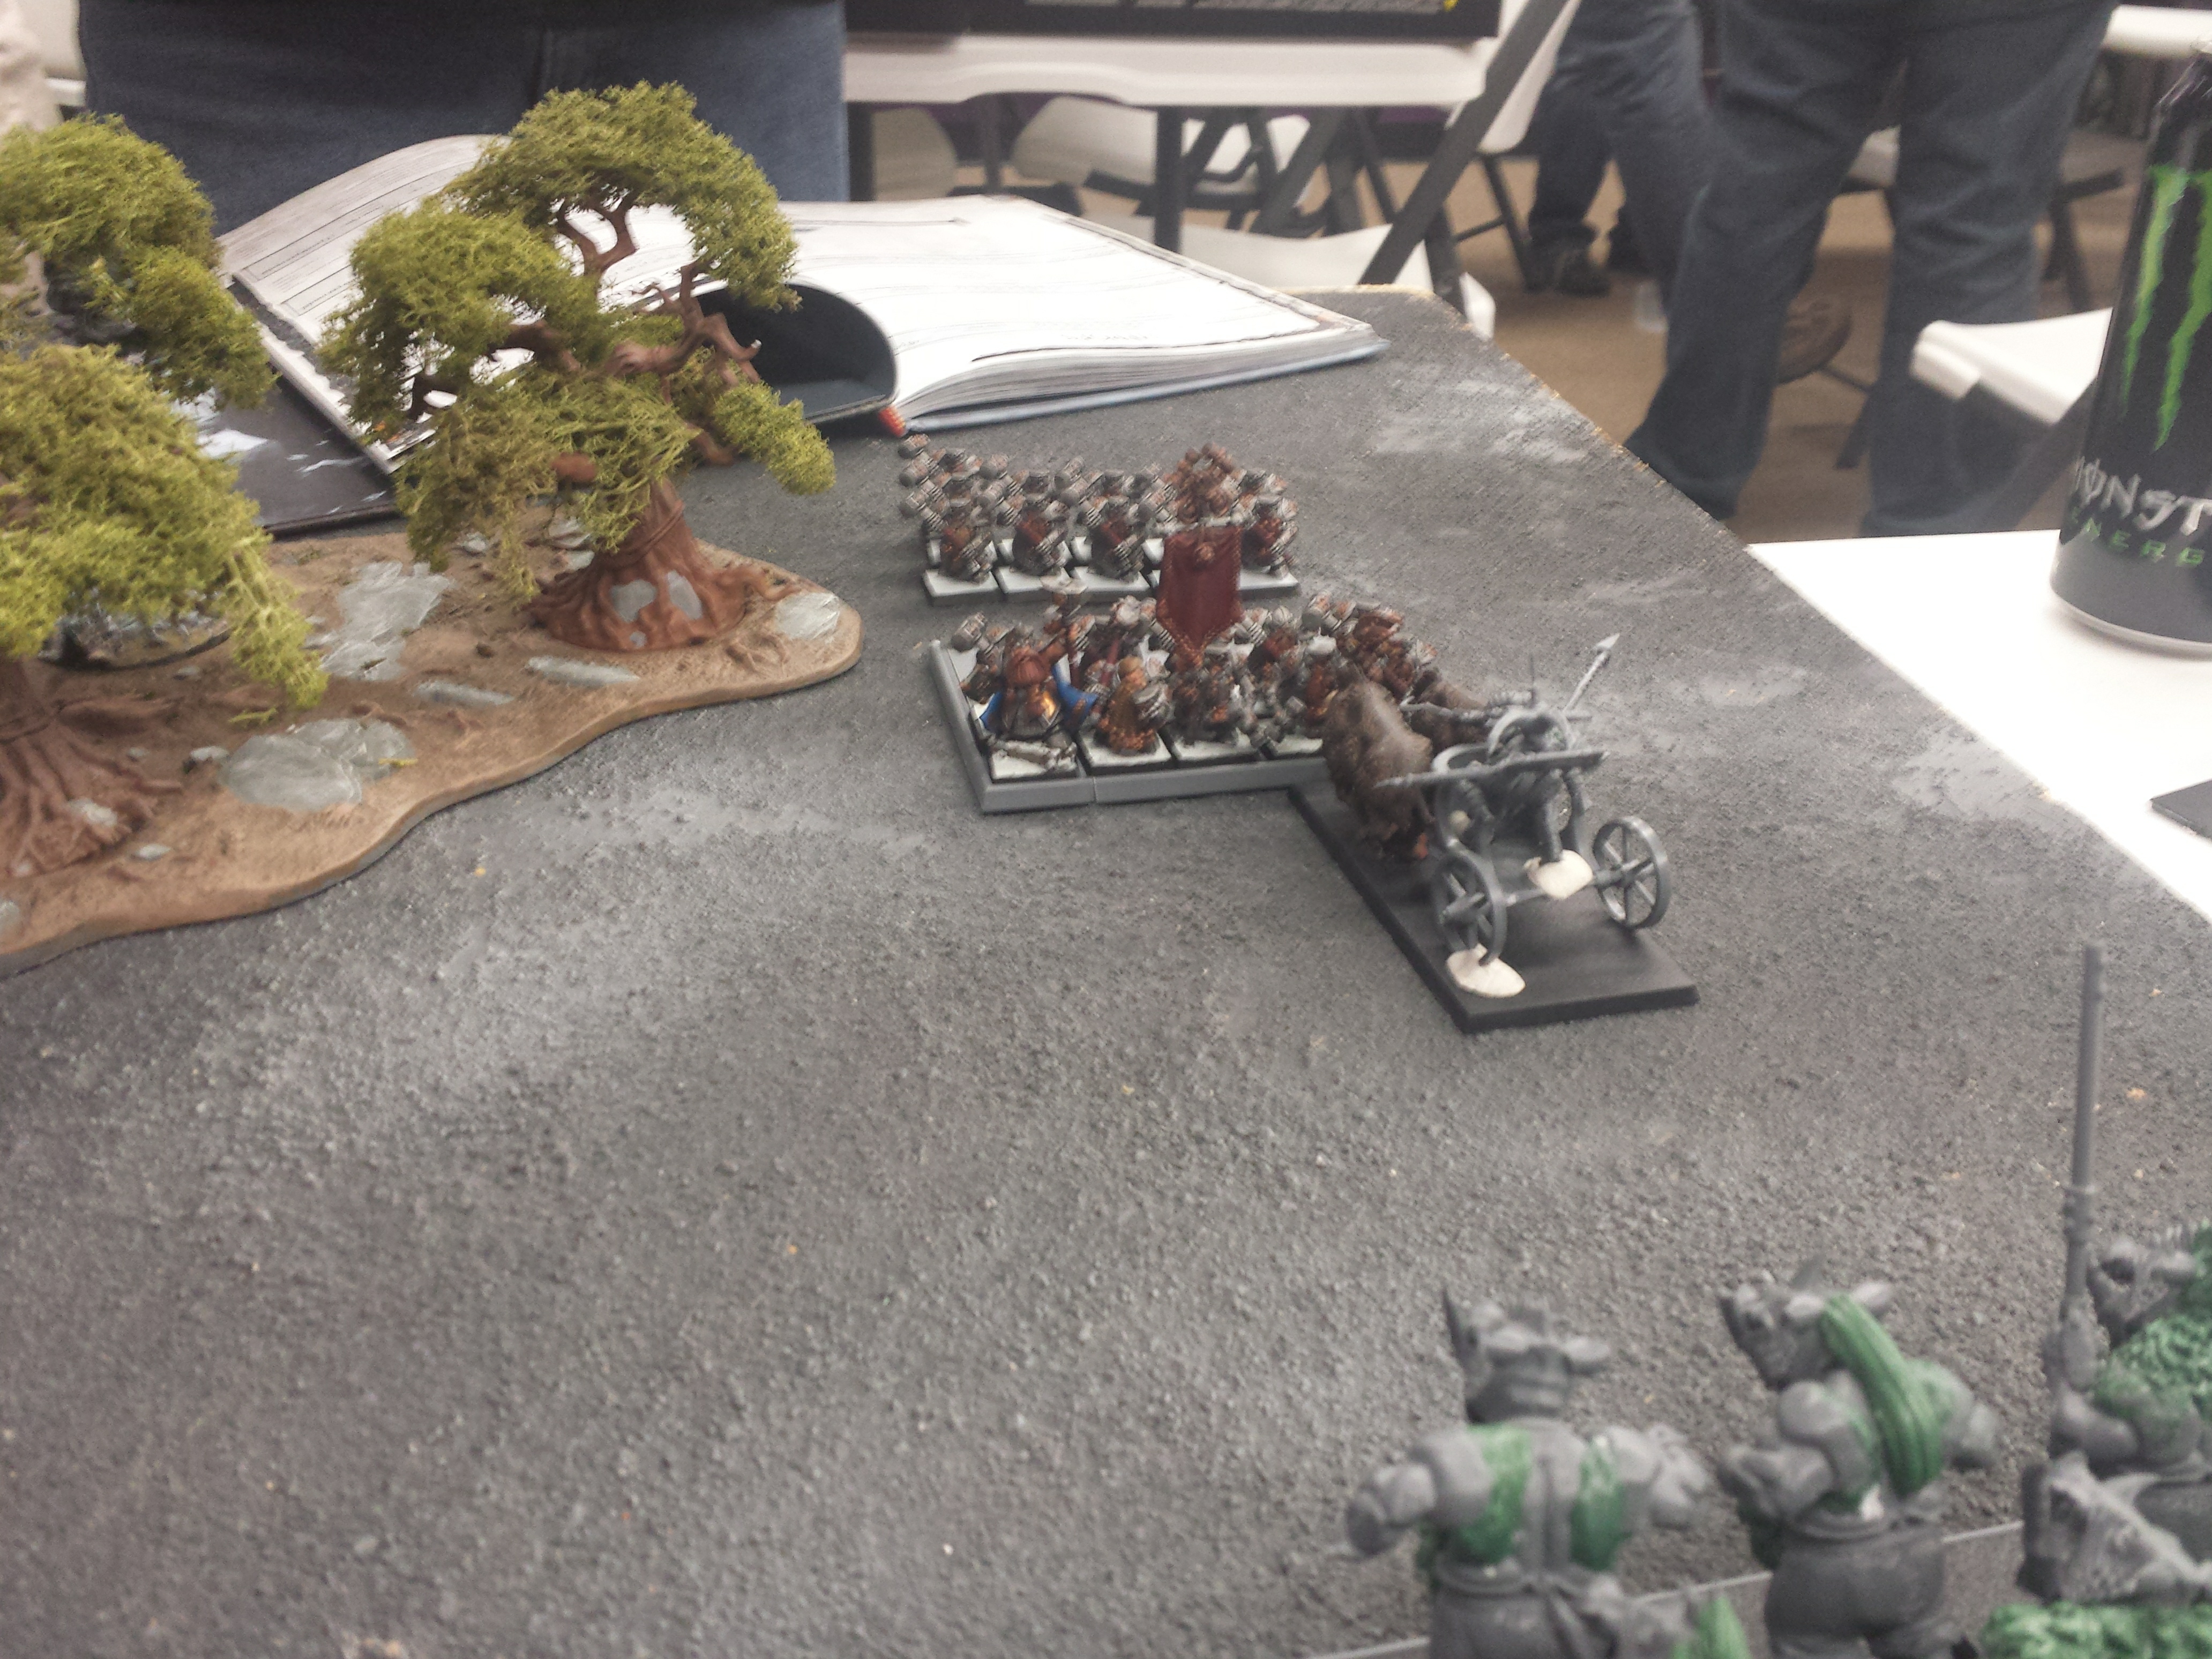
Danny’s list was most of the things I feared that it would be:
- Rune Dude, Great Weapon, many runes. The end result of the runes was that he has two extra wounds and a Toughness of 5 or maybe 6.
- Grimm Burlocksson.
- Grimm proved to be a real bastard, giving Danny’s siege engines–already prevented from misfiring due to their own runes–a significant advantage. Danny directed that energy into giving the organ gun rerolls on misses, and it cut a SWATHE through my men.
- Block of Warriors with great weapons.
- Block of Hammerers with great weapons. These also had a banner that boosted dispel attempts.
- Block of Longbeards with great weapons. These also had a banner that gave them some morale-related bonus.
- Block of Quarrelers.
- Block of Thunderers.
- Cannon, set up so as not to misfire, 3 crew.
- Organ Gun, set up so as not to misfire, 3 crew.
Everything had full command where possible, which ultimately played out in my favor since it offered me plenty of challenge targets. However, like I said the game started poorly. Danny blew both of my Razorgors off of the table with his cannon in successive turns, and his first round of Organ Gun fire was 16 shots. I think he rolled under 10 one turn, and failed to give the gun re-rolls on misses once in the entire game. I went second, but with only 2 magic dice I couldn’t accomplish much; I tried to avoid the mistake I often make of leaving too little for summons and lead with that, but it got swatted down and my buff spells didn’t fire either. Because of his item, Danny was dispelling at +4, meaning he was better at it than most of my casting attempts. I was able to ambush in my Ungor, but in the entirety of the game I managed roughly 5 hits off the 10 models, and zero wounds.
By the second turn, though, I was ready to set up some massive charges. I had my minotaurs and one chariot set to slam into the Hammerers, while my Bestigors and other chariot prepared to assault the Longbeards. I think my Gors were also set to hit someone. Turns out it didn’t matter all that much, though, as I failed almost every one of my charges. I managed to get my Bestigors into the fight, but they were already down about a 3rd from Organ Gun fire. My Minotaurs botched their charge, but the chariot didn’t, so I had a single model against three ranks of enemies. My Gors also shuffled forward a tiny number of feet, but did just enough to pull themselves out of range of the Bestigors so that the latter couldn’t benefit from my General’s presence or my BSB.
Then, though, my Tuskgor Chariot got 6 impact hit kills. That was huge. He managed to stick it out in the fight for at least two turns, but it may have been two rounds–I think I botched another Mino charge before I finally got them in the fight. By the time they arrived there weren’t very many dwarves left, and that was all over in a round; by that time, though, they’d also lost two models to the damn Organ Gun sniping them through the trees. My Bestigors also did exceptionally well, owing primarily to the Mark of Nurgle and then some eventual magical assistance. My unit champ won his challenge and got an extra attack, which I promptly forgot to apply. However, I was able to side charge a chariot into the dwarves, and that provided a nice suite of additional attacks. The Besties eventually fell, and the Chariot fled but luckily stopped short of my Gors, giving them a bit of a physical buffer.

Again, I never actually got a summons off in this entire fight. I didn’t have a lot of spare dice, though, because winning the fights required a torrential slurry of buffs and debuffs in equal measure. Danny’s choices on what to block let some of my more critical stuff through, so when my Gors finally slammed into his big block of Longbeards they did so at +1 Strength and Toughness, against opponents whose attack rolls had been debuffed along with their Toughness. My Wargor was up to Toughness 9, though I never got a chance to actually use the Savage Beast for the extra attacks. I took losses, but was able to cleave through the unit and–critically–push into his Thunderers and cannon.
That was when the game hit a critical tipping point. My right flank was cleaned up, but the Organ Gun continued to chop through my Minos as they tried to close the gap. Danny’s Quarrelers hadn’t done much, and might have turned the tide if they were able to get a flank charge. As it stood, I was able to blow through the Thunderers and Cannon in one round, which let me overrun (since I was still charging) into Grimm. Danny considered conceding there, but he still had a pretty solid chunk of Warriors capable of launching a rear charge–I hadn’t been able to catch up to them with my Minos, so there was a bloody, ragged conga line of units scurrying after each other.
Danny and I usually play our games to the hilt, even when that takes 8 hours, so he launched the charge. I was down to about 14 models in the Gor unit, counting unit champ, Wargor, and Great Bray Shaman. Luckily Grimm died in the challenge against the Wargor, meaning I didn’t launch any forward supporting attacks from my 2nd rank. This was critical, because I only had two models in my backmost rank, but that meant I got to strike with 4 models from the second rank…models I wouldn’t have expected would be able to do so, so I would have sent swinging forward if they’d had any targets. That whirlwind of 3-attack models allowed me to shred enough of the Warriors that, combined with the bonus wounds I inflicted on Grimm, I won the combat and didn’t get swept. At that point, we shook hands because Danny was down to an Organ Gun (Damn Organ Gun!) and his Quarrelers.
On my end I had two Minotaurs (one on its last wound), a handful of Gors, all of my characters, and five useless Ungors. My other five died to Grimm the round after they ambushed.
Like Ungor SHOULD.

One thought on “The Goats March On”